The Domain Name System, commonly known as DNS, is like the internet’s phonebook. As you’d look up a name in a phonebook to find a number, your computer uses DNS to turn human-friendly website names into IP addresses.
By default, most people use the DNS servers provided by their Internet Service Provider (ISP). However, there are many compelling reasons to reconsider this default choice without even delving into the intricacies of the DNS port.
Reasoning: Why should you change your DNS server?
Privacy concerns: Using your ISP’s DNS means your ISP can track every website you visit. Some ISPs sell this data, and most provide it to authorities when requested. Switching to a third-party DNS enhances your online privacy. HowToGeek delves into these concerns.
Speed and performance: Third-party DNS servers, like Google’s Public DNS, often outperform ISP DNS servers in speed and reliability.
Security enhancements: Some third-party DNS providers block malicious sites, offering an added layer of protection. Kili.io highlights the security benefits of alternative DNS servers.
Reliability: ISP DNS servers can experience outages. In contrast, many third-party DNS providers prioritize consistent uptime.
Bypassing censorship: In some regions, ISPs block access to specific websites. A third-party DNS can help bypass such restrictions.
Customization and control: Third-party DNS servers offer features like parental controls and custom filtering options for advanced users.
Making the switch: How to change your DNS server
Switching your DNS server might seem daunting, especially if you’re unfamiliar with network settings. However, with a step-by-step approach, it’s a straightforward task that you can accomplish in a few minutes. Here’s how to do it on various platforms:
Windows:
1. Begin by accessing the Control Panel on your computer.
2. Navigate to the Network and Sharing Center.
3. From here, select “Change adapter settings.”
4. Identify your active network connection (Wi-Fi or Ethernet), right-click on it, and choose “Properties.”
5. In the properties window, find and select “Internet Protocol Version 4 (TCP/IPv4)” and then click on “Properties.”
6. In the new window, you’ll see IP and DNS settings options. Choose “Use the following DNS server addresses.”
7. Now, input your third-party DNS provider’s preferred and alternate DNS addresses. 8. Once entered, click “OK” to finalize the changes.
Mac:
1. Start by opening the System Preferences on your Mac.
2. Click on the “Network” icon.
3. From the list on the left, select the network connection you’re currently using. 4. Once selected, click on the “Advanced” button.
5. In the advanced settings, navigate to the “DNS” tab.
6. Here, you can add new DNS addresses. Click the “+” button and enter the addresses of your chosen third-party DNS provider.
7. After adding, click “OK” and then “Apply” to save your changes.
Mobile devices:
● For Android devices, go to Settings and then Wi-Fi settings. Tap on your connected Wi-Fi network. Look for the “IP settings” option and change it to “Static.” You’ll then see fields to enter your DNS addresses.
● For iOS devices, navigate to Settings and then Wi-Fi. Tap on the “i” icon next to your connected network. Scroll down to the DNS section and tap “Configure DNS.” Choose “Manual” and add the addresses of your third-party DNS provider.
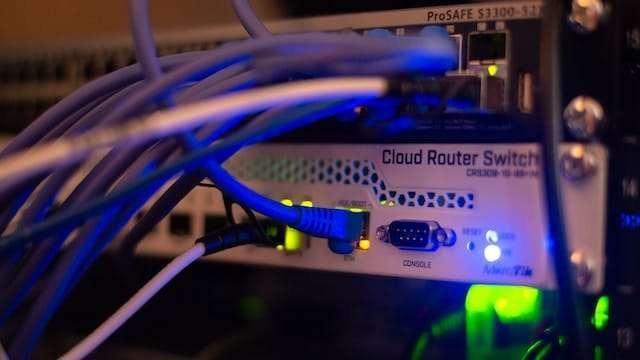
Routers:
1. To change the DNS settings on your router, you’ll first need to access its web interface. This is typically done by entering an address like “192.168.1.1” or “192.168.0.1” into your web browser.
2. Once logged in, look for a DNS or Internet settings section.
3. Here, replace the default DNS addresses with those of your chosen third-party DNS provider.
4. After making the changes, it’s a good practice to restart your router to ensure the new settings take effect.
While the steps to change your DNS differ a bit for each device, the core method is usually the same. Making this change offers many advantages, making the effort truly worthwhile.
The DNS system is a foundational part of the internet, but everyday users often overlook it. Using your ISP’s default DNS servers is the path of least resistance, but it may not be the best choice for privacy, speed, or reliability. Knowing about DNS is crucial for anyone using the internet. If you switch to a third-party DNS provider, you’ll likely have a smoother online experience. More importantly, it will help keep your personal information private.